
I realize that the spicy and savory taste of pumpkin is typically reserved for autumn when the weather becomes slightly cooler and you need something warm to pick you up – not when it’s +40 celsius with the humidity in August. As I mentioned in my last post, this is week two of Claudia being on vacation. This recipe is her most favourite that I bake and she requests it often. These scones are dense and almost exactly like the pumpkin scones you will find at your neighbourhood Starbucks. I was given this recipe from a friend of mine a few years ago. I’m actually not entirely sure where she found it, so I apologize if I’m not giving the proper recipe credits. In other words, please don’t sue me if this is your recipe. I’m just trying to be a good daughter, after all.
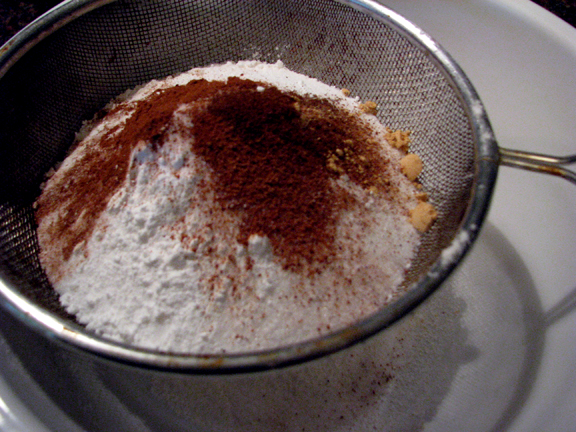
Combine flour, sugar, baking powder, salt and spices in a large bowl.
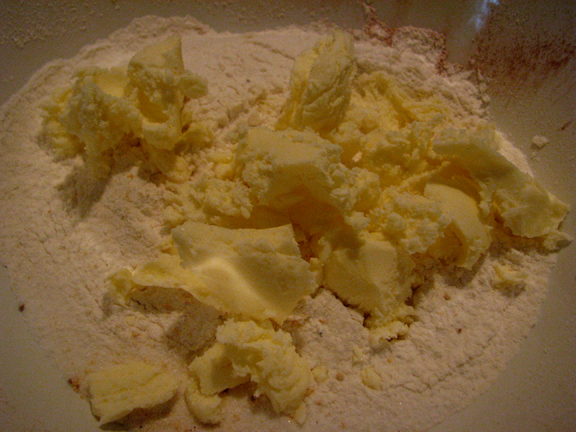
Hello butter.
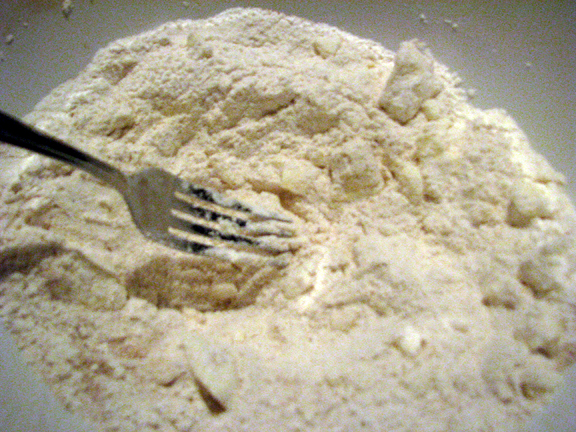
Using a fork or pastry knife (or even food processor for ease), cut cold butter into the dry ingredients until mixture is crumbly and no chunks of butter are obvious.
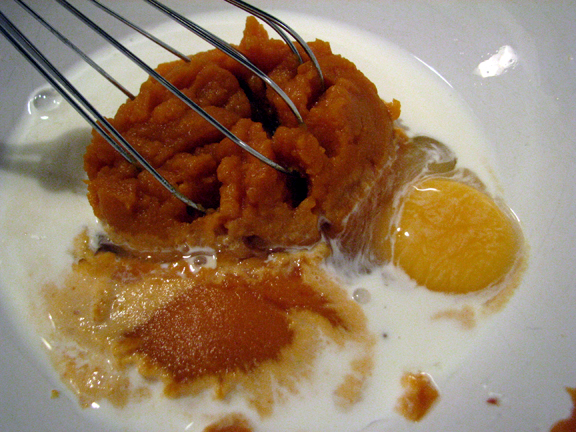
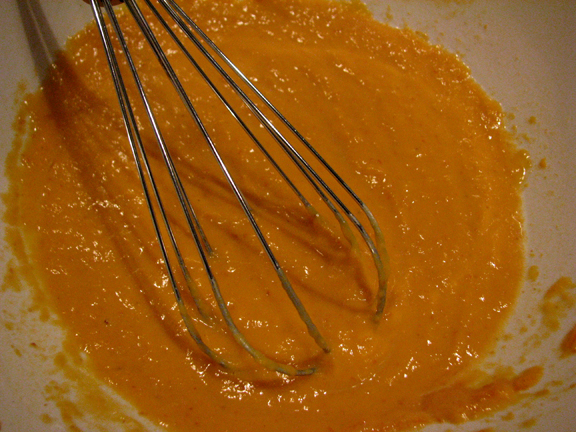
In a separate bowl, whisk together pumpkin, half and half, and your egg.
Delicious? It soon will be, trust me.
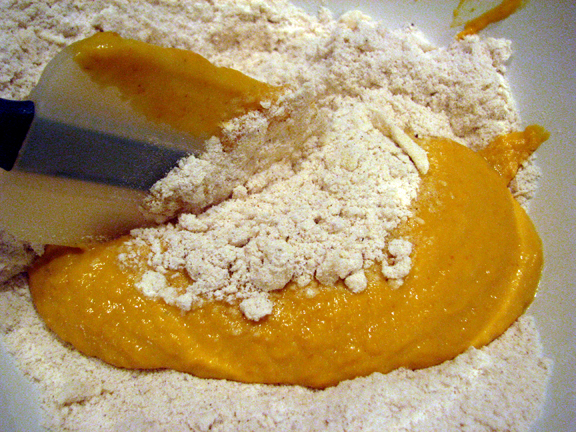
Fold wet ingredients into dry ingredients and form the dough into a small ball.
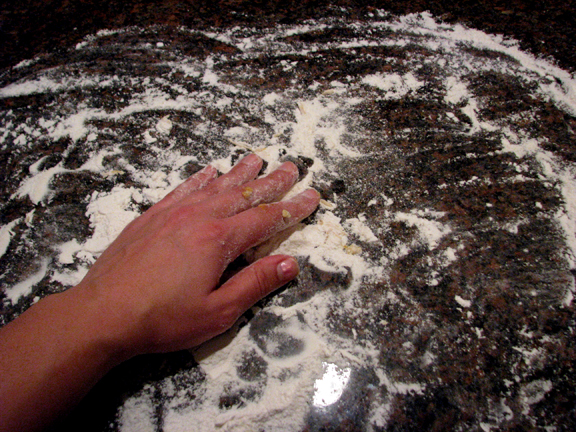
Flour surface. And maybe get a manicure prior to photographing your hands.
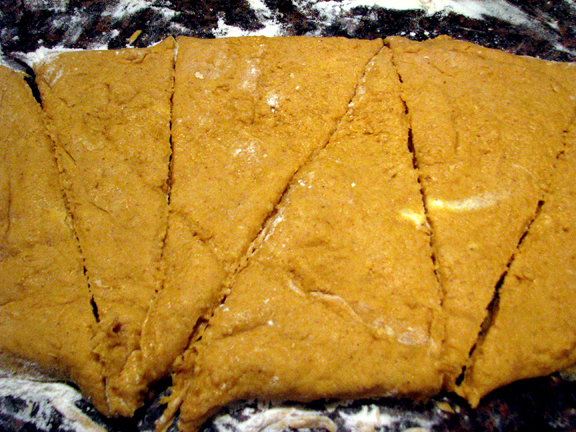
Place dough on surface and form it into a 1-inch thick rectangle (about 9-inches long and 3-inches wide). Use a large knife or pizza cutter to slice the dough twice through the width, making three equal portions. Cut those three slices diagonally so that you have 6 triangular slices of dough.
Again – if you want to make smaller scones, simply make four equal portions and cut accordingly.
Place slices on a baking sheet lined with parchment paper and bake for 14-16 minutes at 425 degrees fahrenheit.
Another note – the dough is quite sticky. Therefore I don’t think anyone will ever get pretty, uniform triangles. I never do. Scones are meant to be “rustic” looking anyways, right? Right.
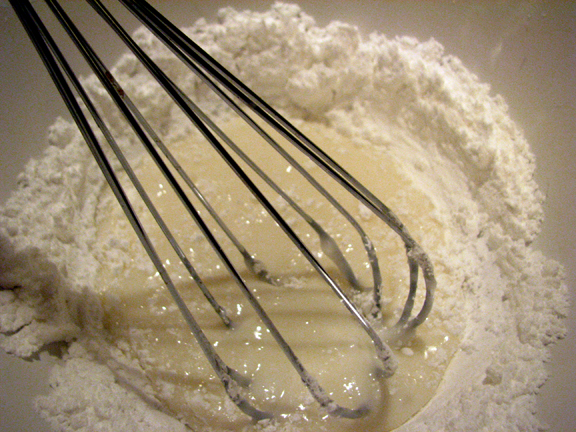
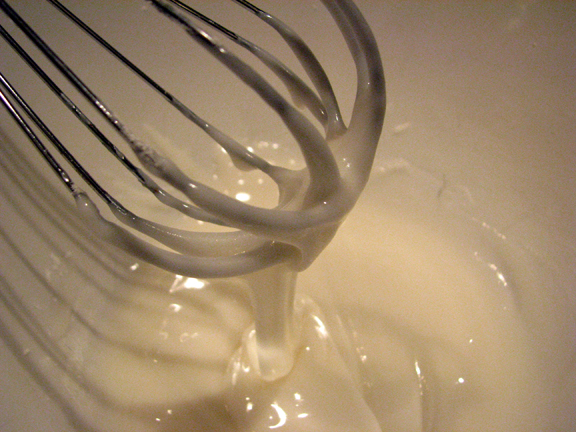
While the scones cool on a wire rack, start making the plain glaze icing by mixing your icing sugar and milk together until smooth.
Nice thick consistency.
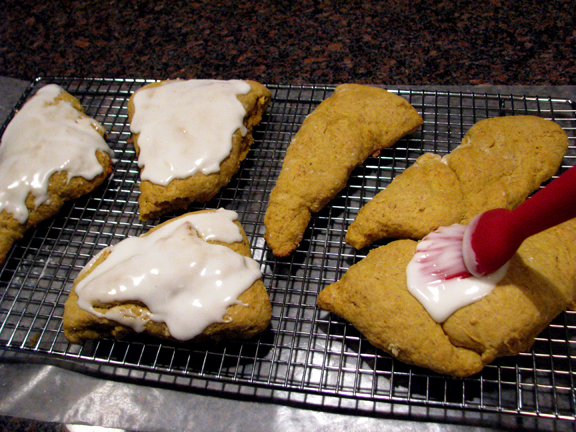
Once your scones have cooled, brush to paint plain glaze over the top of each scone.
Delicious -but we’re not done yet!
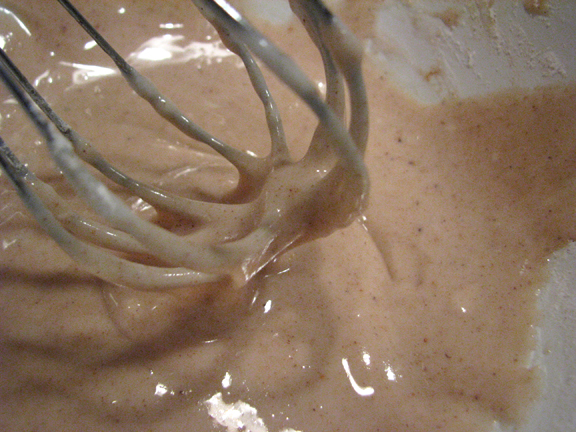
While the plain glaze firms, combine the ingredients for the spiced icing together in a bowl.
I then transfer this icing into a small Ziploc bag and cut the end off one of the corners. Works well for icing the fine lines on the scone. But use whatever tool you’d like – a spoon or whisk works well too.
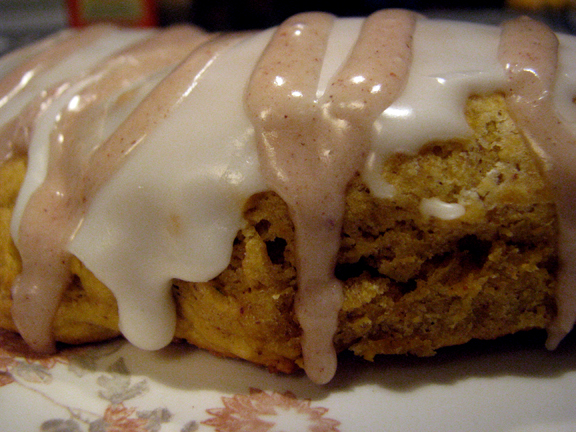
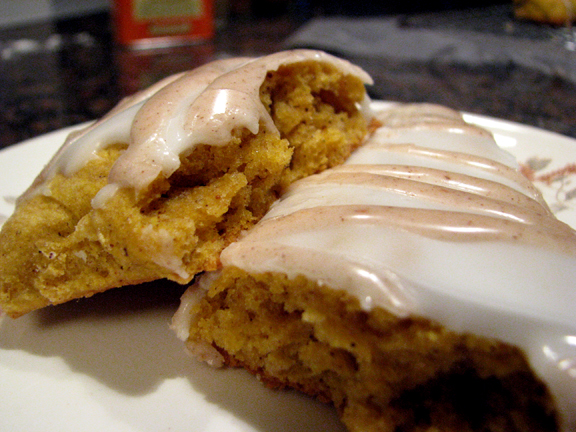
Viola!
Kinda looks like Starbucks scones, doesn’t it?!
Gooey goodness.
Perfect comfort food for any day of the year.


- 2 cups flour
- 7 tbsp sugar
- 1 tbsp baking powder
- 1/2 tsp salt
- 1/2 tsp ground cinnamon
- 1/2 tsp ground nutmeg
- 1/4 tsp ground ginger
- 1/4 tsp ground cloves
- 6 tablespoons cold unsalted butter
- 1/2 cup canned pure pumpkin
- 3 tbsp half-and half
- 1 egg
- 1 cup + 1 tbsp icing sugar
- 2 tbsp whole milk
- 1 cup + 3 tbsp icing sugar
- 2 tbsp whole milk
- 1/4 tsp ground cinnamon
- 1/8 tsp ground nutmeg
- 1 pinch ground ginger
- 1 pinch ground cloves
- Combine flour, sugar, baking powder, salt and spices in a large bowl.
- Using a fork or pastry knife (or even food processor for ease), cut cold butter into the dry ingredients until mixture is crumbly and no chunks of butter are obvious.
- In a separate bowl, whisk together pumpkin, half and half, and your egg.
- Fold wet ingredients into dry ingredients and form the dough into a small ball.
- Flour surface and place dough on surface and form it into a 1-inch thick rectangle (about 9-inches long and 3-inches wide).
- Use a large knife or pizza cutter to slice the dough twice through the width, making three equal portions. Cut those three slices diagonally so that you have 6 triangular slices of dough.
- Place slices on a baking sheet lined with parchment paper and bake for 14-16 minutes at 425 degrees fahrenheit.
- While the scones cool on a wire rack, start making the plain glaze icing by mixing your icing sugar and milk together until smooth.
- Once your scones have cooled, brush to paint plain glaze over the top of each scone.
- While the plain glaze firms, combine the ingredients for the spiced icing together in a bowl.
- Transfer this icing into a small Ziploc bag and cut the end off one of the corners and drizzle icing horizontally across scones.
- Allow icing to sit and harden slightly before eating.
- Enjoy!
- This recipe makes 6 huge (and I mean HUGE) scones. You can probably cut them further into 8 if you prefer.
21 Comments on Pumpkin Scones
1Pingbacks & Trackbacks on Pumpkin Scones
-
[…] I’ve posted my fair share of pumpkin-filled recipes on this blog during the past 2 years. Pumpkin Scones, Cupcakes, and Creme Pies – heck even Claudia’s amazing Pumpkin Pie still could […]




C&C Cakery
August 10, 2010 at 10:57 PM (15 years ago)That icing threw me over the edge. Wooo-wee!
Southern Elle
August 11, 2010 at 3:23 AM (15 years ago)Mm mm mm. Looking forward to making some pumpkin scones but I’ll have to wait until the autumn – pumpkin is hard enough to find at Halloween in Ireland, let alone in August!
Eileen
August 11, 2010 at 7:48 AM (15 years ago)Those look so good! Nice and moist – I love pumpkin anything…
Lyndsay
August 11, 2010 at 8:09 AM (15 years ago)You are being a fantastic daughter! Thanks for the recipe, you are correct about it being a little hot for such a delight but what about crumbled over ice cream or frozen yogurt with a few fresh cherries?
torviewtoronto
August 11, 2010 at 11:51 AM (15 years ago)delicious scones
Claudia's Cookbook
August 11, 2010 at 9:50 PM (15 years ago)Thanks everybody! These scones are so delicious – I’ve had two today!
Ivy @ My Simple Food
August 16, 2010 at 12:20 PM (15 years ago)love your spin on the scones!!
fooddreamer
August 19, 2010 at 7:39 PM (15 years ago)Hey, there’s no rule about pumpkin-flavoured things only being for fall (like don’t where white after labour day), so I say have at it. These look so great, I could eat my computer screen.
Alison Zulyniak
September 10, 2010 at 9:28 AM (15 years ago)Mmmmmmm … perfect for Autumn! Thank you for sharing!
JamieLou
September 20, 2010 at 11:18 AM (15 years ago)I am so making these!
Claudia's Cookbook
September 20, 2010 at 11:32 AM (15 years ago)Great! Let us know how they turn out! They are delicious.
Miz Helen
February 18, 2011 at 9:15 PM (14 years ago)Hi Claudia,
Just look at all of that wonderful icing dripping off the edges of that pumpkin scone…oh my…it just looks delicious. I must try this recipe real soon. Thank you so much for bringing these lovely scones to Full Plate Thursday and please come back!
betsy
February 19, 2011 at 7:37 PM (14 years ago)oh yum!~ thanks for sharing this recipe! I love pumpkin anything!
Claudia's Cookbook
March 1, 2011 at 8:28 PM (14 years ago)You’re welcome Betsy! Thanks for commenting and let us know how you like them!
Becs
February 20, 2011 at 3:35 PM (14 years ago)Yummy! I’m going to keep this recipe for when pumpkins are in season again
Claudia's Cookbook
March 1, 2011 at 8:27 PM (14 years ago)They are definitely worth the wait for pumpkin season 🙂 Enjoy and let us now how you like them!
Myriah
December 7, 2011 at 10:12 PM (13 years ago)I came across these while searching for recipes similar to Starbucks Pumpkin scones as they are one of my seasonal favorites.. I just wanted to say, and I can’t believe I am saying this.. but these are BETTER than starbucks scones! They are absolutely fantastic!! SO moist and not too sweet – DELICIOUS!
Claudia's Cookbook
December 7, 2011 at 10:20 PM (13 years ago)Thank you very much Myriah! So glad you enjoyed them!
Kelly
September 28, 2015 at 9:21 AM (10 years ago)I just made these. Wow! Amazing…. and so easy!
Claudia's Cookbook
October 3, 2015 at 2:21 PM (10 years ago)Yay!! So glad you like them, Kelly! Thanks for sharing.