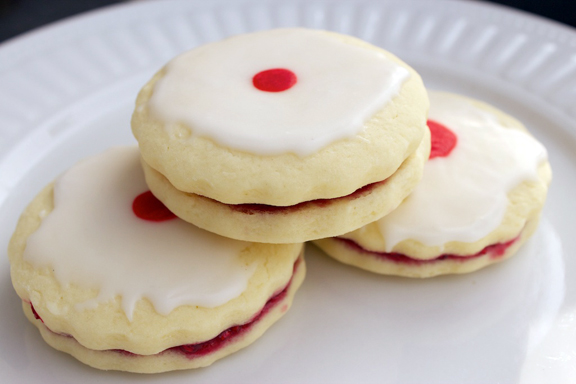
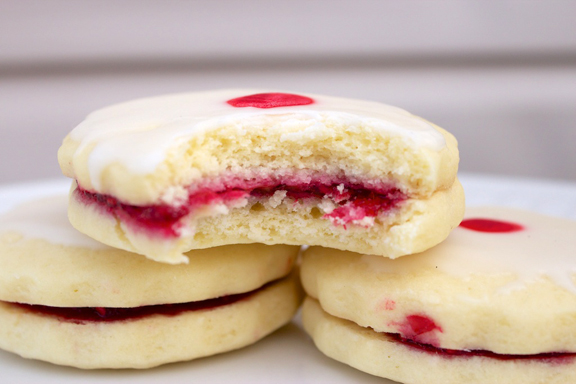
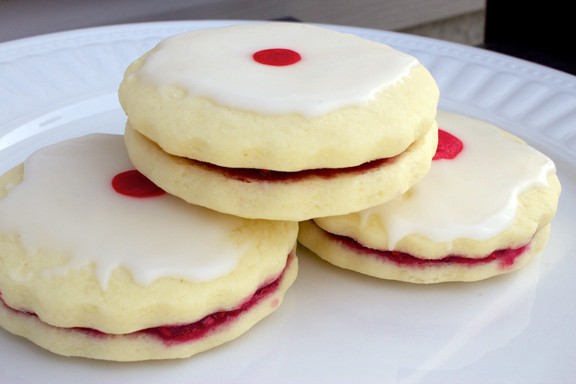
The first time I had an Imperial Cookie (or Empire Cookie as they are also called) was when I worked for Starbucks while I was in university. We had an amazing local bakery supply all our pastries and it didn’t take much for me to fall in love with their Imperial Cookies. It has been a number of years since I worked for Starbucks, so I figured I would try to replicate one of my favourite cookies for the blog. This recipe is a hybrid between Canadian Living’s Classic Empire Cookie recipe and the amazing Anna Olson’s Empire Cookie recipe. I could not have been happier with the results. The cookies were soft, delicate and delicious. I also had the opportunity to use some of our newly made Raspberry Jam, which made these cookies even more delectable. Feel free to use homemade or your favourite store bought jam.
For the cookies:
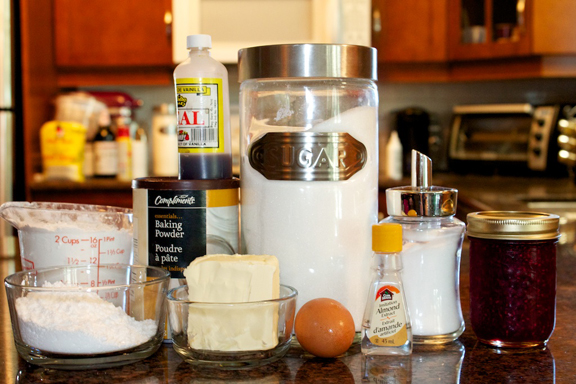
1/2 cup unsalted butter, softened
1/2 cup white sugar
1 egg
1 tsp vanilla
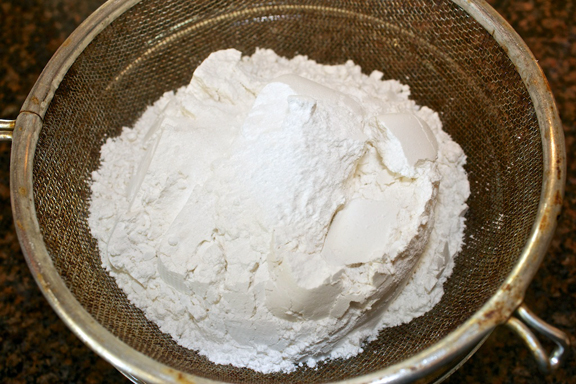
2 cups cake and pastry flour, sifted
1 tsp baking powder
1/4 tsp salt
1/3 cup raspberry jam
Candied cherries or red icing (optional)
For the icing topping:
1 cup sifted icing sugar
1/4 tsp almond extract
1 tbsp hot water, approximate
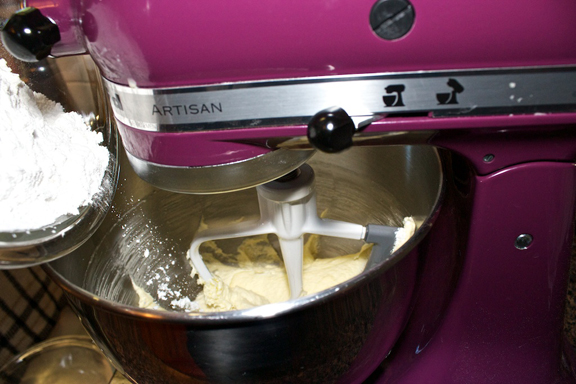
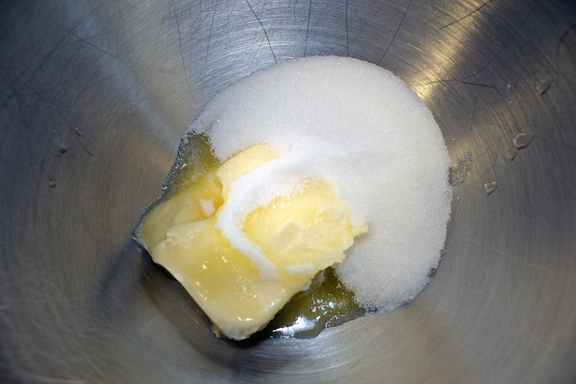 In large bowl, beat butter with sugar until fluffy.
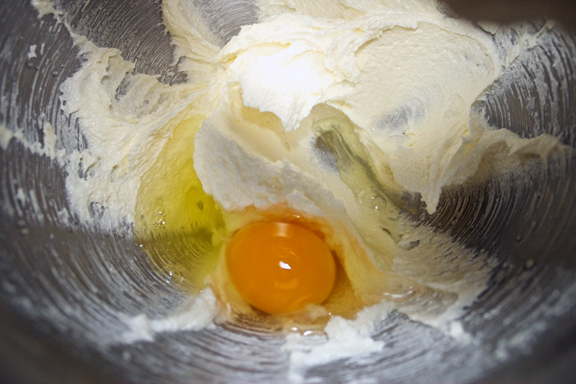
Beat in egg and vanilla.
In separate bowl, whisk together flour, baking powder and salt.
Stir into butter mixture in 3 additions.
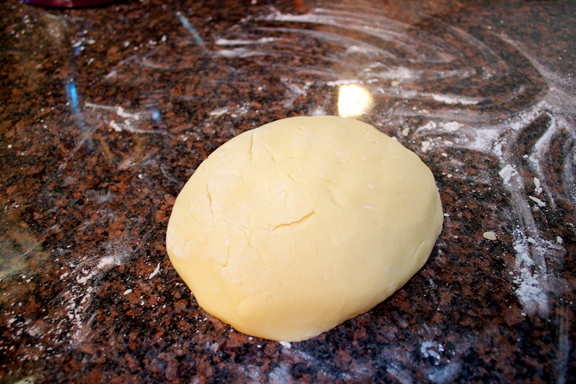
Shape the dough into a disc (it will be very soft).
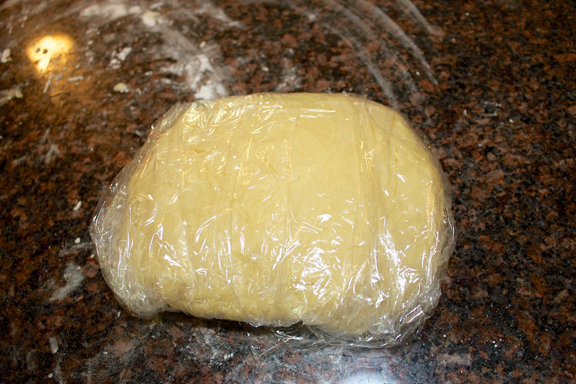
Wrap in plastic and chill in the fridge until firm, about 2 hours.
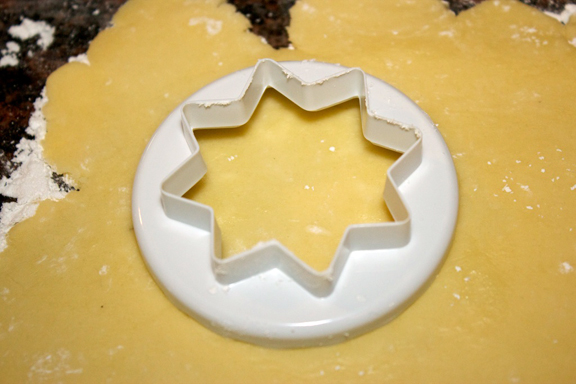
On a lightly floured work surface, gently knead the dough just to soften it slightly. Roll out the dough to approximately ¼-inch thick and cut out cookies using a 2-inch cookie cutter.
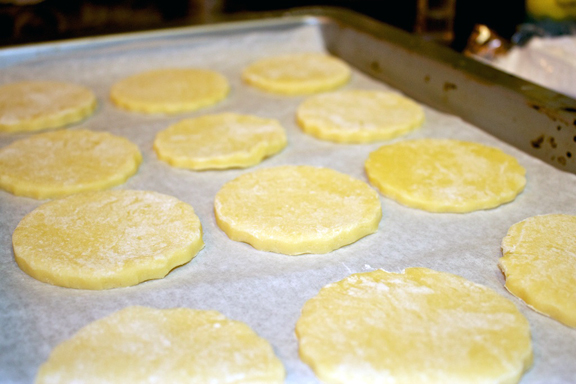
Place the cookies on the baking trays, leaving ½-inch between them.
Bake in a 350°F oven until edges are light golden, about 10 minutes.
Let cool completely on racks.
While your cookies are baking and cooling, you can now make the icing topping.
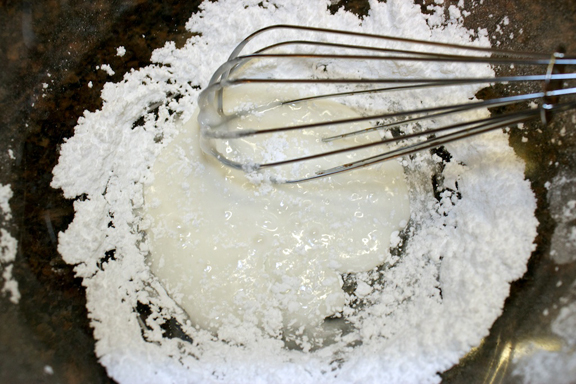
In small bowl, stir icing sugar with almond extract; drizzle in enough of the water to make spreadable icing.
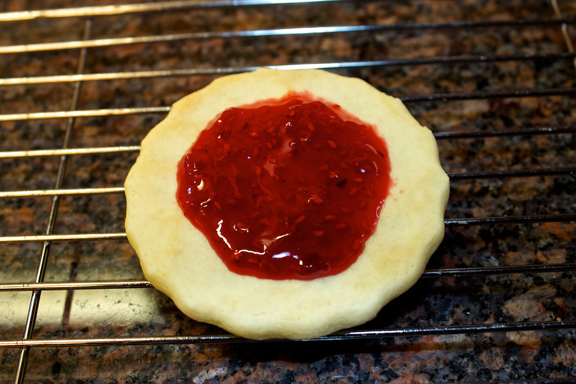
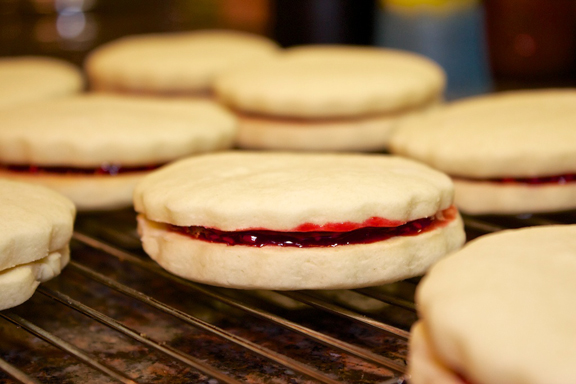
Once your cookies are cooled, stir the raspberry jam to soften and spread a little on a cookie bottom.
Sandwich a second cookie on top, pressing gently to secure. Repeat with the remaining cookies.
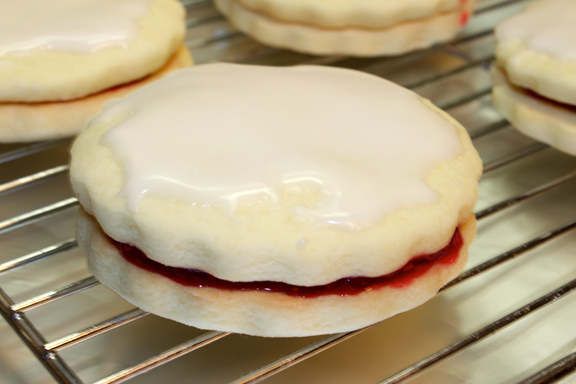
Spread your icing on top of each cookie sandwich.
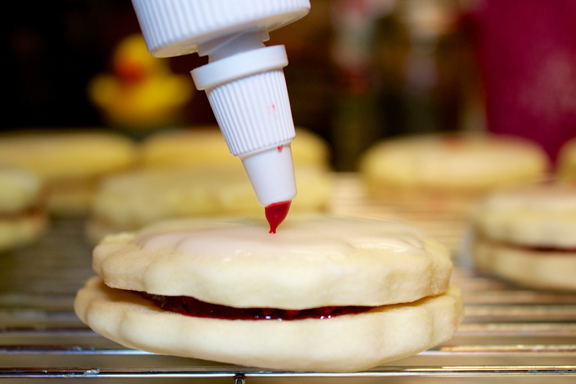
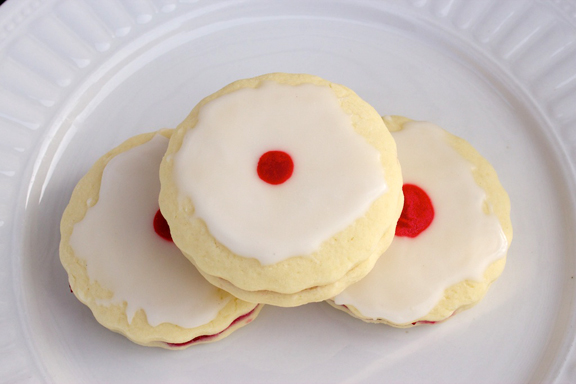
Top with a dot of red icing, or a candied cherry (totally optional).
I had no cherries so I settled for a dab of red icing.
Let cookies stand until set, about 1 hour.
Serve to your friends, or hoard for yourself. I did.
Elegant and pretty.
Tart and sweet.
Enjoy!


- 1/2 cup unsalted butter, softened
- 1/2 cup white sugar
- 1 egg
- 1 tsp vanilla
- 2 cups cake and pastry flour, sifted
- 1 tsp baking powder
- 1/4 tsp salt
- 1/3 cup raspberry jam
- Candied cherries or red icing (optional)
- 1 cup sifted icing sugar
- 1/4 tsp almond extract
- 1 tbsp hot water, approximate
- In large bowl, beat butter with sugar until fluffy.
- Beat in egg and vanilla.
- In separate bowl, whisk together flour, baking powder and salt.
- Stir into butter mixture in 3 additions.
- Shape the dough into a disc (it will be very soft).
- Wrap in plastic and chill in the fridge until firm, about 2 hours.
- On a lightly floured work surface, gently knead the dough just to soften it slightly.
- Roll out the dough to approximately ¼-inch thick and cut out cookies using a 2-inch cookie cutter.
- Place the cookies on the baking trays, leaving ½-inch between them.
- Bake in a 350°F oven until edges are light golden, about 10 minutes. Let cool completely on racks.
- While your cookies are baking and cooling, you can now make the icing topping. In small bowl, stir icing sugar with almond extract; drizzle in enough of the water to make spreadable icing.
- Once your cookies are cooled, stir the raspberry jam to soften and spread a little on a cookie bottom.
- Sandwich a second cookie on top, pressing gently to secure. Repeat with the remaining cookies.
- Spread your icing on top of each cookie sandwich.
- Top with a dot of red icing, or a candied cherry (totally optional).
- Let cookies stand until set, about 1 hour.
- Serve and enjoy!
- Cookies can be kept in an airtight container for up to 5 days. They also freeze very well.
49 Comments on Imperial Cookies (AKA: Empire Cookies)
2Pingbacks & Trackbacks on Imperial Cookies (AKA: Empire Cookies)
-
[…] recipe comes mostly from Claudia’s Cookbook (who I assume is also a Winnipegger, hey girl hey), with a few changes in the order of operations. […]
-
[…] This time, I borrowed the recipe from this web page – Claudia’s Cookbook – Imperial Cookies […]

Lori
August 28, 2012 at 2:47 PM (13 years ago)These have been a favourite since I was a kid. Fabulous job on thee beauties! I just may have to go make some for back to school lunches!!
Claudia's Cookbook
September 6, 2012 at 1:12 AM (13 years ago)Thanks Lori! And happy back to school to you 🙂
Dana
September 5, 2012 at 10:08 PM (13 years ago)Imperial cookies are so grand! We tend to cut small shapes out of the top cookie so that the jam peeks through, so that’s an option too! Yours look so good!
Claudia's Cookbook
September 6, 2012 at 1:13 AM (13 years ago)Thanks Dana! Cutting out small shapes from the top of the cookie is a great idea! I will definitely have to try that!
Maryanne
November 28, 2012 at 2:07 AM (12 years ago)Going to make these to take to my folks this weekend as an early Christmas treat! I love your instructions and photos, they are so clear and easy to follow. Keep up the great work!
Claudia's Cookbook
November 28, 2012 at 2:18 AM (12 years ago)Thanks Maryanne!! I’m glad you find the photos helpful. Let me know how you like the cookies! 🙂
Maryanne
December 21, 2012 at 2:36 AM (12 years ago)Hi again! They were a huge hit with everyone! Going to make more to take for Christmas and decorate the tops with red and green icing dots.
Claudia's Cookbook
December 21, 2012 at 2:39 AM (12 years ago)Hi Maryanne! I’m SO happy to hear that! Thanks for letting me know. Decorating with red and green for Christmas is a great idea. I may have to do that as well. Happy Holidays to you and your family 🙂
suecee
December 14, 2012 at 3:54 AM (12 years ago)Once filled, how long do they keep? Do they get soggy?
Claudia's Cookbook
December 14, 2012 at 5:11 AM (12 years ago)I kept mine in an airtight container for about 4-5 days and they didn’t get soggy at all. You can always freeze them too!
Laura
May 2, 2013 at 12:23 AM (12 years ago)I sooooo want to make these cookies after buying a version from a local baker. Since I have a child with a nut allergy, can I leave out the almond extract from the icing without affecting it too much?
Cheers.
Claudia's Cookbook
May 2, 2013 at 12:27 AM (12 years ago)Hi Laura – You can definitely use vanilla extract to replace the almond extract! If you can, try to find white vanilla so it doesn’t darken the white icing. If you can’t find, no worries – regular vanilla will work nicely. Let me know how they turn out!
Laura
May 7, 2013 at 11:21 PM (12 years ago)Thank you! I’m going to make them this week. I hope 🙂
Laura
May 11, 2013 at 12:20 AM (12 years ago)Success! I made them today and my family loved them. Thanks so much. This is going in my recipe file.
I couldn’t find white vanilla, but the regular stuff worked wonderfully.
Claudia's Cookbook
May 11, 2013 at 11:09 PM (12 years ago)Fantastic Laura! I’m so happy to hear they turned out and were a hit. I really love them. Something about the sweet of the cookie and the tartness of the jam. Delicious!
Laura
May 19, 2013 at 2:09 AM (12 years ago)Now, I don’t suppose you have a tiramisu recipe? This is my son’s latest request 🙂
Claudia's Cookbook
May 19, 2013 at 6:03 PM (12 years ago)I don’t..yet! The only way I’ve made tiramisu is in trifle form. I used this recipe and it turned out great: http://www.gourmetkoshercooking.com/2009/12/tiramisu-trifle/
Laura
June 8, 2013 at 8:33 PM (12 years ago)Thank you. My son’s been asking for it.
Maroonmango
July 18, 2013 at 2:40 PM (12 years ago)Hello, I just wanted to say I have loved this recipe for a while now and all my family gets excited when they know these are what I’ll be bringing, unfortunately a couple months ago it was suggested to go gluten free/ dairy free while feeding my new baby boy, thus stopping regular baking in its tracks. Last night I attempted these (quite reluctantly) with a home made gluten free flour mix. I have to say they are by far the best conversion I have tried yet. I still followed the recipe exact other than subbed the flour as well as margarine for the butter. Thank you so much for this versatile and seemingly impossible to screw up recipe!
Claudia's Cookbook
July 25, 2013 at 9:29 PM (12 years ago)Hi Maroonmango! I’m so happy to hear you were able to adapt the cookie recipe to be gluten free! That’s awesome. I definitely should try it! Thanks for sharing! 🙂
Ruth
January 3, 2017 at 7:14 PM (8 years ago)I was wondering what your gluten free flour mix was. My sister was diagnosed as celiac and these are her favourite cookies. She told me she was afraid she would never have then again. It would be awesome if I could make them for her.
Claudia's Cookbook
January 4, 2017 at 12:07 PM (8 years ago)Hi Ruth – I’m sorry, but I don’t make anything with gluten free flour, so I can’t recommend a brand or mix.
maureen pearson
October 9, 2013 at 2:46 AM (12 years ago)just love this recipe, thank you so much, happy memories of a childhood in England just after the war when butter was a luxery, these cookies were pure bliss thank you
Claudia's Cookbook
October 9, 2013 at 2:47 AM (12 years ago)You are very welcome Maureen! I’m so glad you enjoyed them! 🙂
alberto roberti
December 20, 2013 at 3:49 PM (11 years ago)thank you so much for this delicious recipe!
Claudia's Cookbook
December 20, 2013 at 4:58 PM (11 years ago)You’re very welcome Alberto! Happy Holidays to you!
Linda Kasian
February 9, 2014 at 9:00 AM (11 years ago)Thanks for the wonderful recipe and the wonderful illustrations and step-by-step guide. I will be making these cookies today with my granddaughters and this will be their copy to start their personal cook books.
Claudia's Cookbook
February 9, 2014 at 3:23 PM (11 years ago)You are very welcome Linda! Please let us know how you like the cookies 🙂 Happy baking!
Cathy
October 25, 2015 at 12:56 PM (9 years ago)I don’t have parchment paper is an ungreased baking sheet ok?
Claudia's Cookbook
October 25, 2015 at 1:29 PM (9 years ago)No, the cookies will stick to an ungreased baking sheet. If you don’t have parchment paper or a non-stick silicone mat, you can try greasing your baking sheet. But I can’t guarantee they will turn out the same way.
Lise
December 22, 2015 at 10:35 PM (9 years ago)I made these and followed the recipe to a tee. I had issues; the dough was not coming together at all so to save my dough, I added 2 tsp of milk. Honestly what I had in my mixer looked like sand! I’m an experienced baker and this has never happened to me before.
That said, the cookies did work. A tip I would give is to make sure your cookies are completely cool before filling and icing. I left mine sit out overnight to ensure they would be cool and then no issues with the icing dripping. I also had to add a bit more water to the icing as it was too lumpy for me, even after sifting.
Kuri
February 13, 2016 at 7:08 PM (9 years ago)I made these yesterday with a friend and despite following all the directions, our dough wasn’t sticky in the slightest [like the above commenter’s]. We added an extra egg and that did the trick!
I made these again today because they’re soo addicting. I followed the recipe exactly but had a second egg ready just in case….and the recipe turned out perfectly! I’m not sure what we did wrong yesterday, but the resulting cookies were great each time =)
Bryan
December 5, 2016 at 3:28 PM (8 years ago)I made these cookies for a Christmas Cookie Exchange, did 6x the recipe and they turned out Amazing! I rolled them a little thinner than the recipe and was able to yield 96 full cookies. I didn’t have any almond extract for the icing, so I substituted vanilla and it turned out good. I let them set in the fridge overnight.
I’ll definitely use this recipe again! The cookie recipe is perfect for making Alfajores, I’ll try that next with homemade dulce de leche filling.
Thank you for the great recipe!
Claudia's Cookbook
December 13, 2016 at 10:02 AM (8 years ago)I’m so glad you liked them, Bryan!! They are a fav here too 🙂
Chrissy
December 12, 2016 at 7:15 PM (8 years ago)I came across your blog while looking for an empire cookie recipe and omg I’m so happy I found it. I can’t wait to try so many of your recipes! This is fantastic:)
Claudia's Cookbook
December 13, 2016 at 10:00 AM (8 years ago)Thank you so much, Chrissy! Let us know how you like the recipes!
katelynn
December 19, 2016 at 8:39 AM (8 years ago)thank you for this recipe! i had been looking for a good one as my grandma use to make them every year. I made them last year for Christmas and they were a huge hit. I am making them again this year 🙂
Claudia's Cookbook
December 23, 2016 at 9:47 AM (8 years ago)You’re welcome! Glad you and your family enjoyed them!
Louise M
December 12, 2017 at 2:02 PM (7 years ago)Making them again this year! They were excellent when I made them last year for Christmas
katelynn
December 17, 2017 at 3:27 PM (7 years ago)how long does the dough keep in the fridge of I were to make it all ahead of time?
Thompson
November 11, 2018 at 11:12 AM (6 years ago)Hi Claudia,
I made these yesterday along with a batch of the Canadian Living and they both were fantastic. Needless to say I woke up this morning and I am sure one batch is gone devoured by the 2 cookie monsters (daughter and hubby) the house. My husband commented they are better than those he bought at Stella’s and another bakery. Did I say empire cookies is his favorite – yes it is.
I made one modification by adding some jam into a little of the icing and dollop on the top instead of using cherries or gel and it worked perfect.
Claudia's Cookbook
December 11, 2018 at 9:22 PM (6 years ago)Awesome!! Aren’t they so delicious? I don’t understand people who have the will power to have just one 😉
janie
December 28, 2018 at 2:18 PM (6 years ago)hello! I am a Canadian Ukrainian whose Mom taught her all she knows too! These cookies are addictive! The texture/taste have you coming back for more! Mine sat in the fridge for 5 days in preparation for baking xmas eve. They rolled out with no fuss and cut clean, both small-one and a half inch, and large-two inch cookies. My raspberry jam bled so I will try a different brand next time! Lovely presentation as well! TY!
Sue
December 10, 2019 at 9:34 PM (5 years ago)I had no idea how many people love these cookies. It’s my third year making them. I use seedless raspberry jam and dip the cookies in the icing.
This is a great recipe !
Debbie Pettibon
December 5, 2022 at 5:27 PM (2 years ago)My grandmother was born in Scotland and she would make these cookies every for year Christmas. She always called them Empire Biscuits. Now I have been making them at Christmas for years, everyone loves them! It only my family who grew up with them but anyone else who taste them. Your recipe is almost the same as my grandmother’s. Thank you!
Ryan G
July 18, 2023 at 9:17 PM (2 years ago)Finally got around to making these. Turned out great! Icing didn’t look so great so I think next time i will dip them.
Kylie
November 3, 2024 at 1:51 PM (5 months ago)How far in advance can I make the dough?